
C#
Better C# Switch Statements for a Range of Values
By hackajob Staff
Today we’re going to be building a fully functional ‘movie-themed’ app. Using some concepts shown in our previous tutorials such as Lists, Redux, React Navigation and Swipe buttons, we’ll be implementing this app in three parts:
To begin, we’ll be using a model with both Redux and Navigation already set. If you need a little help with these concepts, make sure to look at some of our past tutorials.
Start by cloning the pre-set app which you can find here.
Then install the app:
npm install
If you are using iOS, follow the steps below:
cd ios && pod install
cd ..
It’s time to start work on the second tab of the app. You’ll be implementing a list and a search bar, but will need to get an API key first, which you can get from the OMDb website. Make sure to select the free option as it offers more than enough daily uses.
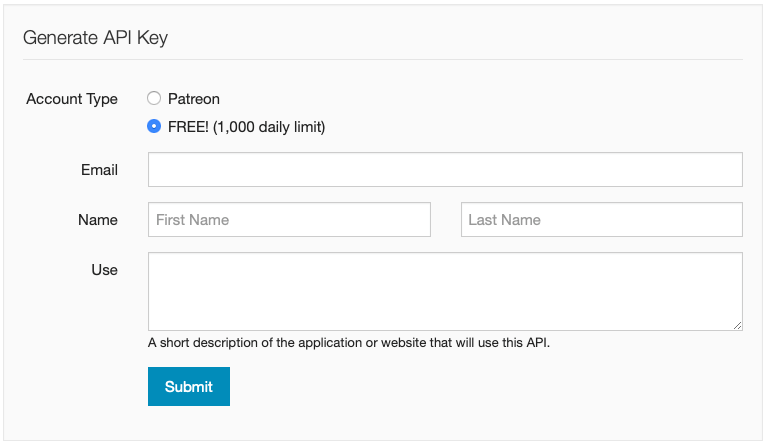
After receiving a confirmation email with your API key, save it (remember not to share it with anyone) and activate your key with the link provided in the email.
You’ll need 'react-native-elements' for list component and icons, so be sure to install it first:
npm install react-native-elements --save
npm install react-native-vector-icons —save
*Note: React Native doesn’t need the link command anymore in most dependencies. vector-icons is an exception (at least in the version “0.60.5”).
react-native link react-native-vector-icons
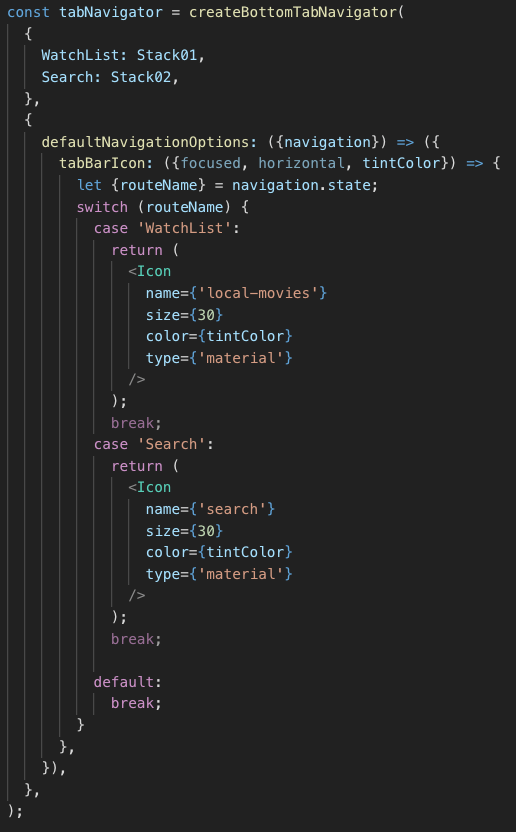
Once the setup is complete, open the 'Routes.js' file. It’s time to set some icons on the navigation bar, so begin by importing them from 'react-native-elements':

Then set 2 icons, one for each tab:
*Note: You may face the following error:
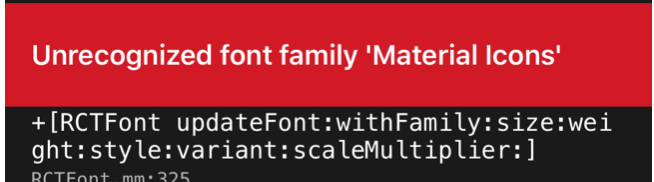
If this happens, simply open the iOS folder and delete the ‘build’ folder, ‘pods’ folder and ‘Podfile.lock’ file. After this, run the pod install command on your terminal - voila!
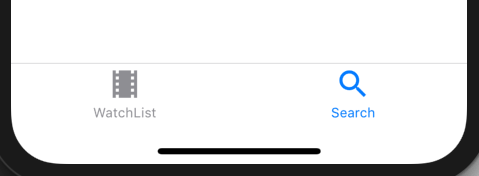
This is how the tab navigation bar will look:
Next, you’ll be building a search bar with a list component. When typing more than four letters, the search function will automatically use the OMDb API and will fill the result list.
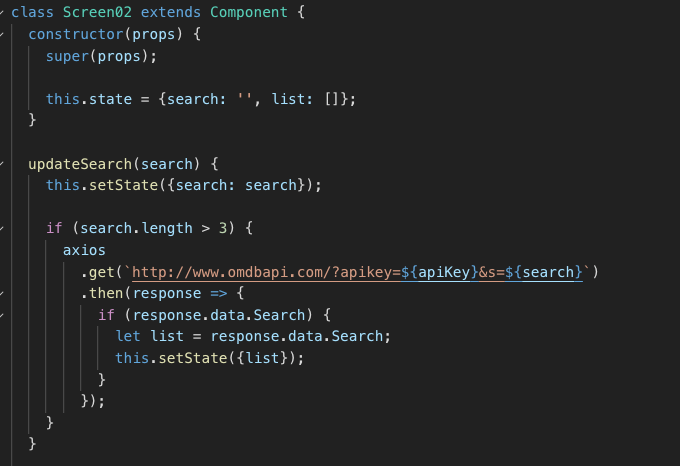
Open the 'Screen02.js' file and start importing the required dependencies.

You’ll need to use a state to control the bar, as well as implement a search function:
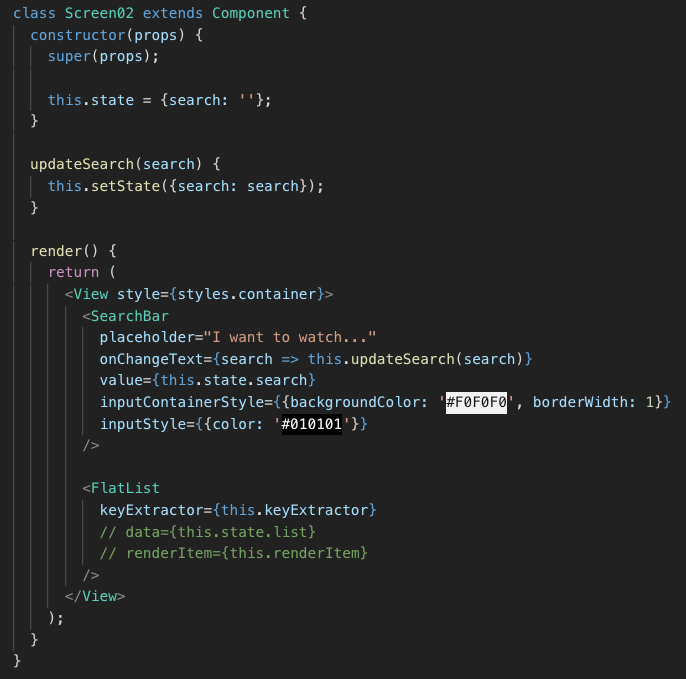
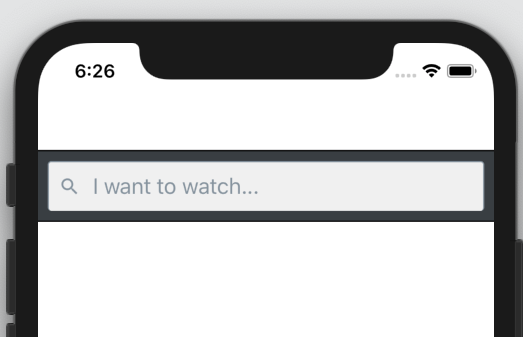
And the search bar:
Now work on the search functionality. Every time you type a letter, the overall movie title will be searched for by the API:
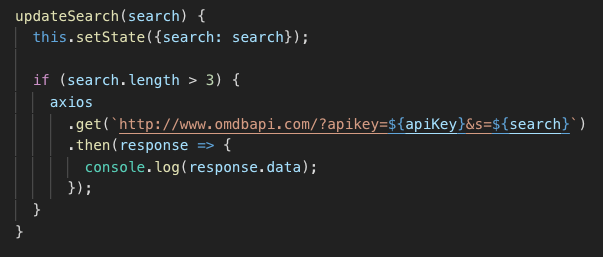
Let’s see how it works:
Not so hard huh?
The next step is to fill the ‘List’ component whenever there is a ‘Search List’ response. For each movie shown, you’ll use the poster link, title and year.
It’s time to implement the ‘renderItem’. Don’t worry about any of the styling - we’ll work on it in part three of the tutorial.
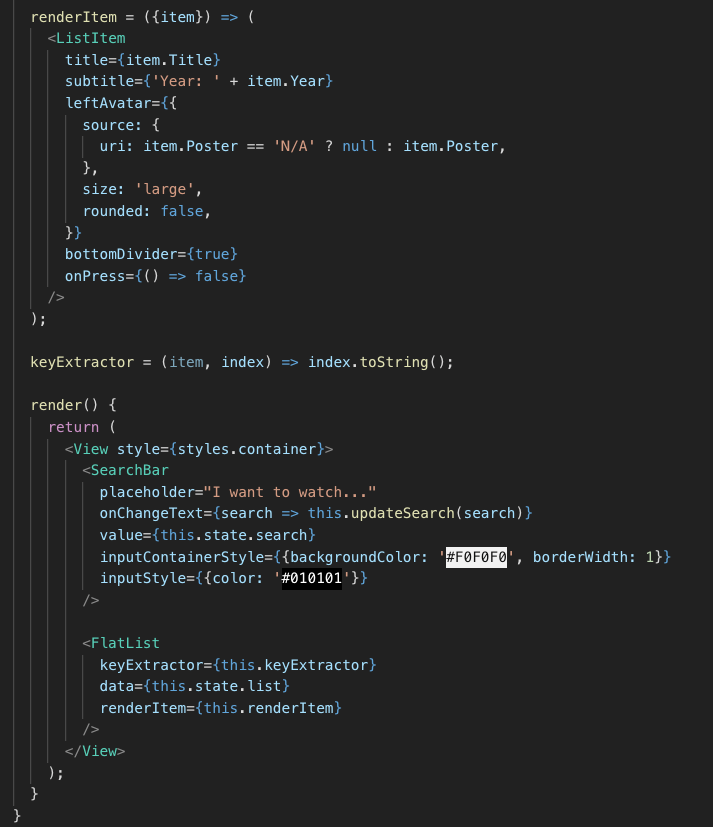
Note that at the 'renderItem' function, you’ll use the following statement:
“uri: item.Poster == 'N/A' ? null : item.Poster”
This is because there isn’t always a URL at the Poster attribute, so you can return ‘null’ if the URL is equal to ‘N/A’.
For the final part of this tutorial, you’ll need to send the item that you want by Redux action, so you can handle the definitive list.
Open both the ‘AppActions.js’ and ‘types.js’ files at ‘actions’ folder.
Add a new type:

Declare the ‘addMovie’ function:

For now, you won’t be doing much with the movie in the example above, but in part two of this tutorial, you’ll be inserting it using React Native’s ‘AsyncStorage’.
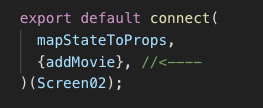
Now import the ‘addMovie’ function at ‘Screen02.js’:

Then export this function with the Class props:
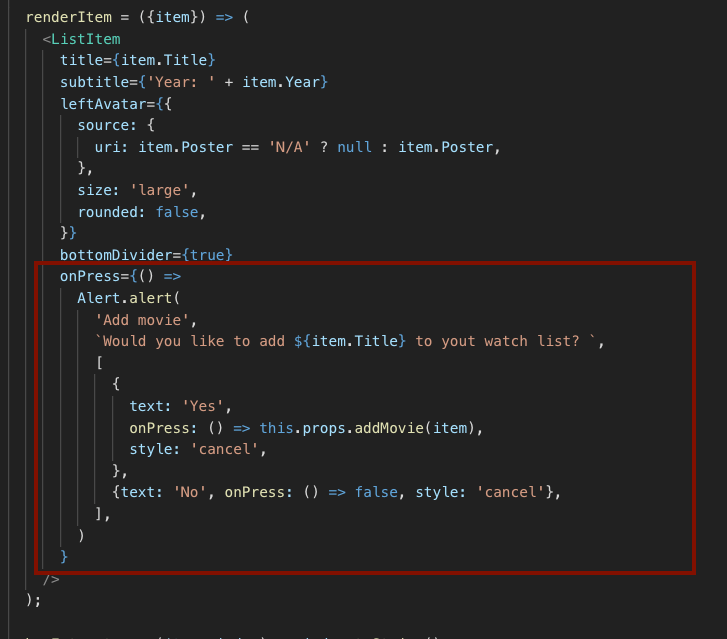
At the ‘renderItem’ function, use an ‘Alert’ to ask the user if they would like to add this movie to the Watch List. If Yes, use the ‘addMovie’ action:
Take a look at the app now:
Liked this hackajob tutorial? Make sure to keep a look out for parts two and three!